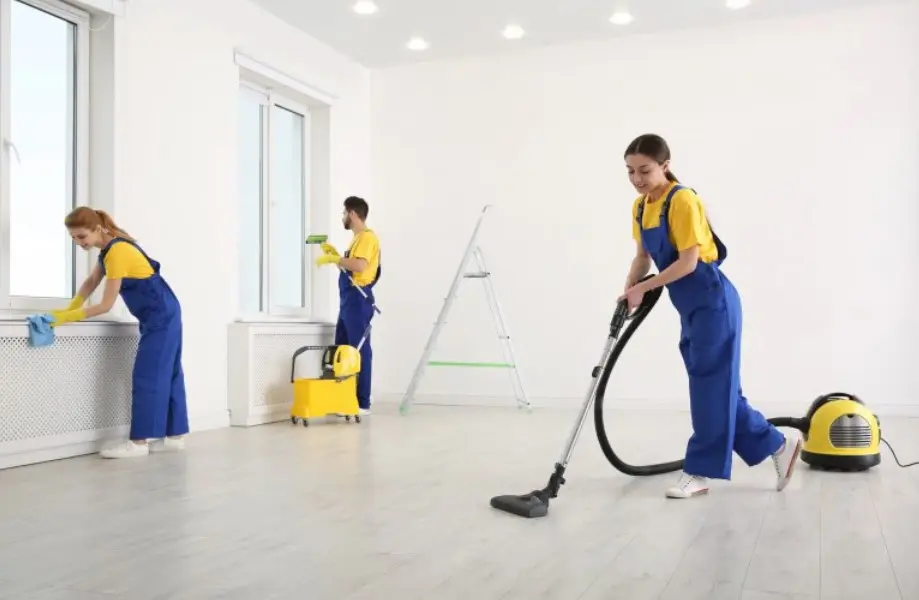
Renovating a co-living space can significantly boost its appeal, functionality, and market value. However, once the dust settles—literally—a crucial step remains: post-renovation cleaning. Construction dust, debris, and leftover materials can make even the most beautifully upgraded spaces feel uninviting.
A thorough post-renovation cleaning transforms these newly renovated areas into fresh, move-in-ready homes. In this guide, we’ll explore why post-renovation cleaning is essential and provide practical steps to ensure your co-living space is spotless and welcoming for its new residents.
Why Post-Renovation Cleaning is Crucial
Ensuring a Healthy Living Environment
Renovation work generates fine dust, sawdust, and chemical residues that linger on surfaces and in the air. These particles can trigger allergies, respiratory issues, and skin irritations. A deep cleaning eliminates these health hazards, creating a safe and hygienic space for residents.
For a thorough deep cleaning approach, consider professional cleaning services like Tidyman’s deep cleaning solutions, which ensure every corner is dust-free and sanitized.
Enhancing Aesthetic Appeal
A modern renovation loses its charm if dust, smudges, and construction grime remain. Proper cleaning brings out the full beauty of the new interiors, allowing design features, color schemes, and furnishings to shine.
Protecting Your Investment
Leftover renovation materials like grout dust, paint splatters, or sawdust can cause long-term damage to flooring, fixtures, and appliances. Prompt cleaning prevents unnecessary wear and tear, ensuring that the upgrades last longer.
Creating a Welcoming Atmosphere
A clean and fresh space is key to attracting and retaining tenants. Post-renovation cleaning ensures the property is move-in ready, making a great first impression on potential residents.
Steps to Effective Post-Renovation Cleaning
Conduct a Thorough Inspection
Before starting the cleaning process, inspect the entire space to identify areas that need the most attention. Focus on:
- Dust-covered walls, ceilings, and surfaces
- Leftover construction debris
- Paint splatters and adhesive residues
- Clogged vents and dusty air ducts
A detailed checklist ensures no spot is overlooked.
Remove Large Debris and Construction Waste
Start by clearing out all renovation waste, such as wood scraps, tiles, and packaging materials. Dispose of these materials responsibly according to local regulations.
Tips for efficiency:
- Rent a dumpster or hire a waste removal service for large projects
- Separate recyclable materials like cardboard or metal to minimize environmental impact
Dust Every Surface Thoroughly
Fine dust settles on every surface, from walls to furniture. Without proper cleaning, it can continuously circulate through the air.
Steps for dust removal:
- Use a microfiber cloth to wipe down walls, baseboards, and window sills
- Clean light fixtures and ceiling fans
- Vacuum upholstered furniture and carpets using a vacuum cleaner with a HEPA filter
For best results, work from top to bottom to prevent re-dusting lower surfaces.
Deep Clean Floors
Flooring often takes the most damage during renovations, accumulating dust, dirt, and adhesive residues.
Cleaning methods for different flooring types:
- Hardwood floors – Sweep, vacuum, and mop with a wood-safe cleaner. Avoid excess water to prevent damage.
- Tiles – Scrub grout lines and remove grout haze with a mild detergent.
- Carpets – Steam clean or hire professional cleaners for deep extraction of dust and stains.
Clean Windows and Mirrors
Windows and mirrors often get smudged during renovations. Clean them to let in natural light and enhance the space’s appearance.
- Use a streak-free glass cleaner and microfiber cloth
- Remove paint splatters with a scraper or razor blade carefully
Sanitize Kitchens and Bathrooms
Kitchens and bathrooms require extra attention to ensure hygiene and functionality.
Key steps:
- Wipe down countertops, sinks, and appliances with disinfectant
- Scrub grout lines in tiled areas
- Clean and sanitize toilets, bathtubs, and showerheads
- Ensure faucets and fixtures are free from adhesive residues and debris
Run water in sinks and showers to clear out any construction dust from the plumbing.
Clean and Maintain HVAC Systems
Renovation dust can clog air filters and vents, reducing air quality.
Checklist for HVAC cleaning:
- Replace air filters
- Clean air vents and ducts
- Dust and vacuum around HVAC units
Cost-Effective Post-Renovation Cleaning Tips
Use Multipurpose Cleaning Products
Save money by using versatile cleaning solutions that work on multiple surfaces, such as glass, tiles, and countertops.
Rent or Borrow Specialized Equipment
For tasks like carpet cleaning or high-ceiling dusting, renting equipment instead of purchasing it outright can be a cost-effective option.
Involve Residents in Light Cleaning
If renovations were minor, consider engaging current residents in light cleaning tasks. This fosters a sense of community while reducing workload.
Hire Professional Cleaners for Deep Cleaning
For large-scale renovations, hiring a professional cleaning service is often the most efficient and cost-effective approach. Experts have the right tools and techniques to ensure every corner is spotless.
The Benefits of Post-Renovation Cleaning in Co-Living Spaces
Move-In Ready Properties
A thorough post-renovation cleaning ensures the property is immediately ready for new tenants, minimizing delays in occupancy.
Higher Tenant Satisfaction
A clean and fresh environment improves the overall living experience, increasing tenant satisfaction and retention.
Strong First Impressions
Prospective tenants are more likely to choose a co-living space that looks well-maintained and inviting.
Long-Term Property Maintenance
Regular cleaning after renovations prevents long-term issues such as mold growth, dust accumulation, and surface damage.
Transforming Renovated Spaces into Comfortable Homes
Post-renovation cleaning is the final step in turning a co-living property into a livable home. By following a strategic cleaning process, property managers can ensure a safe, attractive, and welcoming environment for residents.
For inspiration on how to design co-living spaces that are both functional and aesthetically pleasing, check out LivHola’s co-living room design inspirations.
Whether you handle the cleaning in-house or hire professionals, the effort pays off, leaving your renovated co-living space ready to impress and delight its occupants.
Also Read-Exploring the GBGM Slot Games Universe: Why GBGM Slot Games Stand Out
